The X-Trans Audit: Unifying a Decade of Fujifilm Color
The X-Trans Audit Part 1: Escaping the 'JPEG Trap' (And why I took this workflow to Sony).
For years, I shot exclusively with Fujifilm (X-T series, X-H series). Like many of you, I fell in love with the Film Simulations. I treated 'Classic Chrome' and 'Velvia' like religion.
But in late 2022, I switched my professional kit to the Sony A1 for its autofocus and resolution. The biggest fear I had? Losing that 'Fuji Soul.'
That transition forced me to learn the truth: Camera profiles are just filters. By relying on Fuji's baked-in simulations, I was losing dynamic range and texture. I realized that if I wanted a true 'Masterpiece' print—whether from my old Fuji files or my new Sony files—I needed a linear baseline.
Enter Cobalt Neutral.
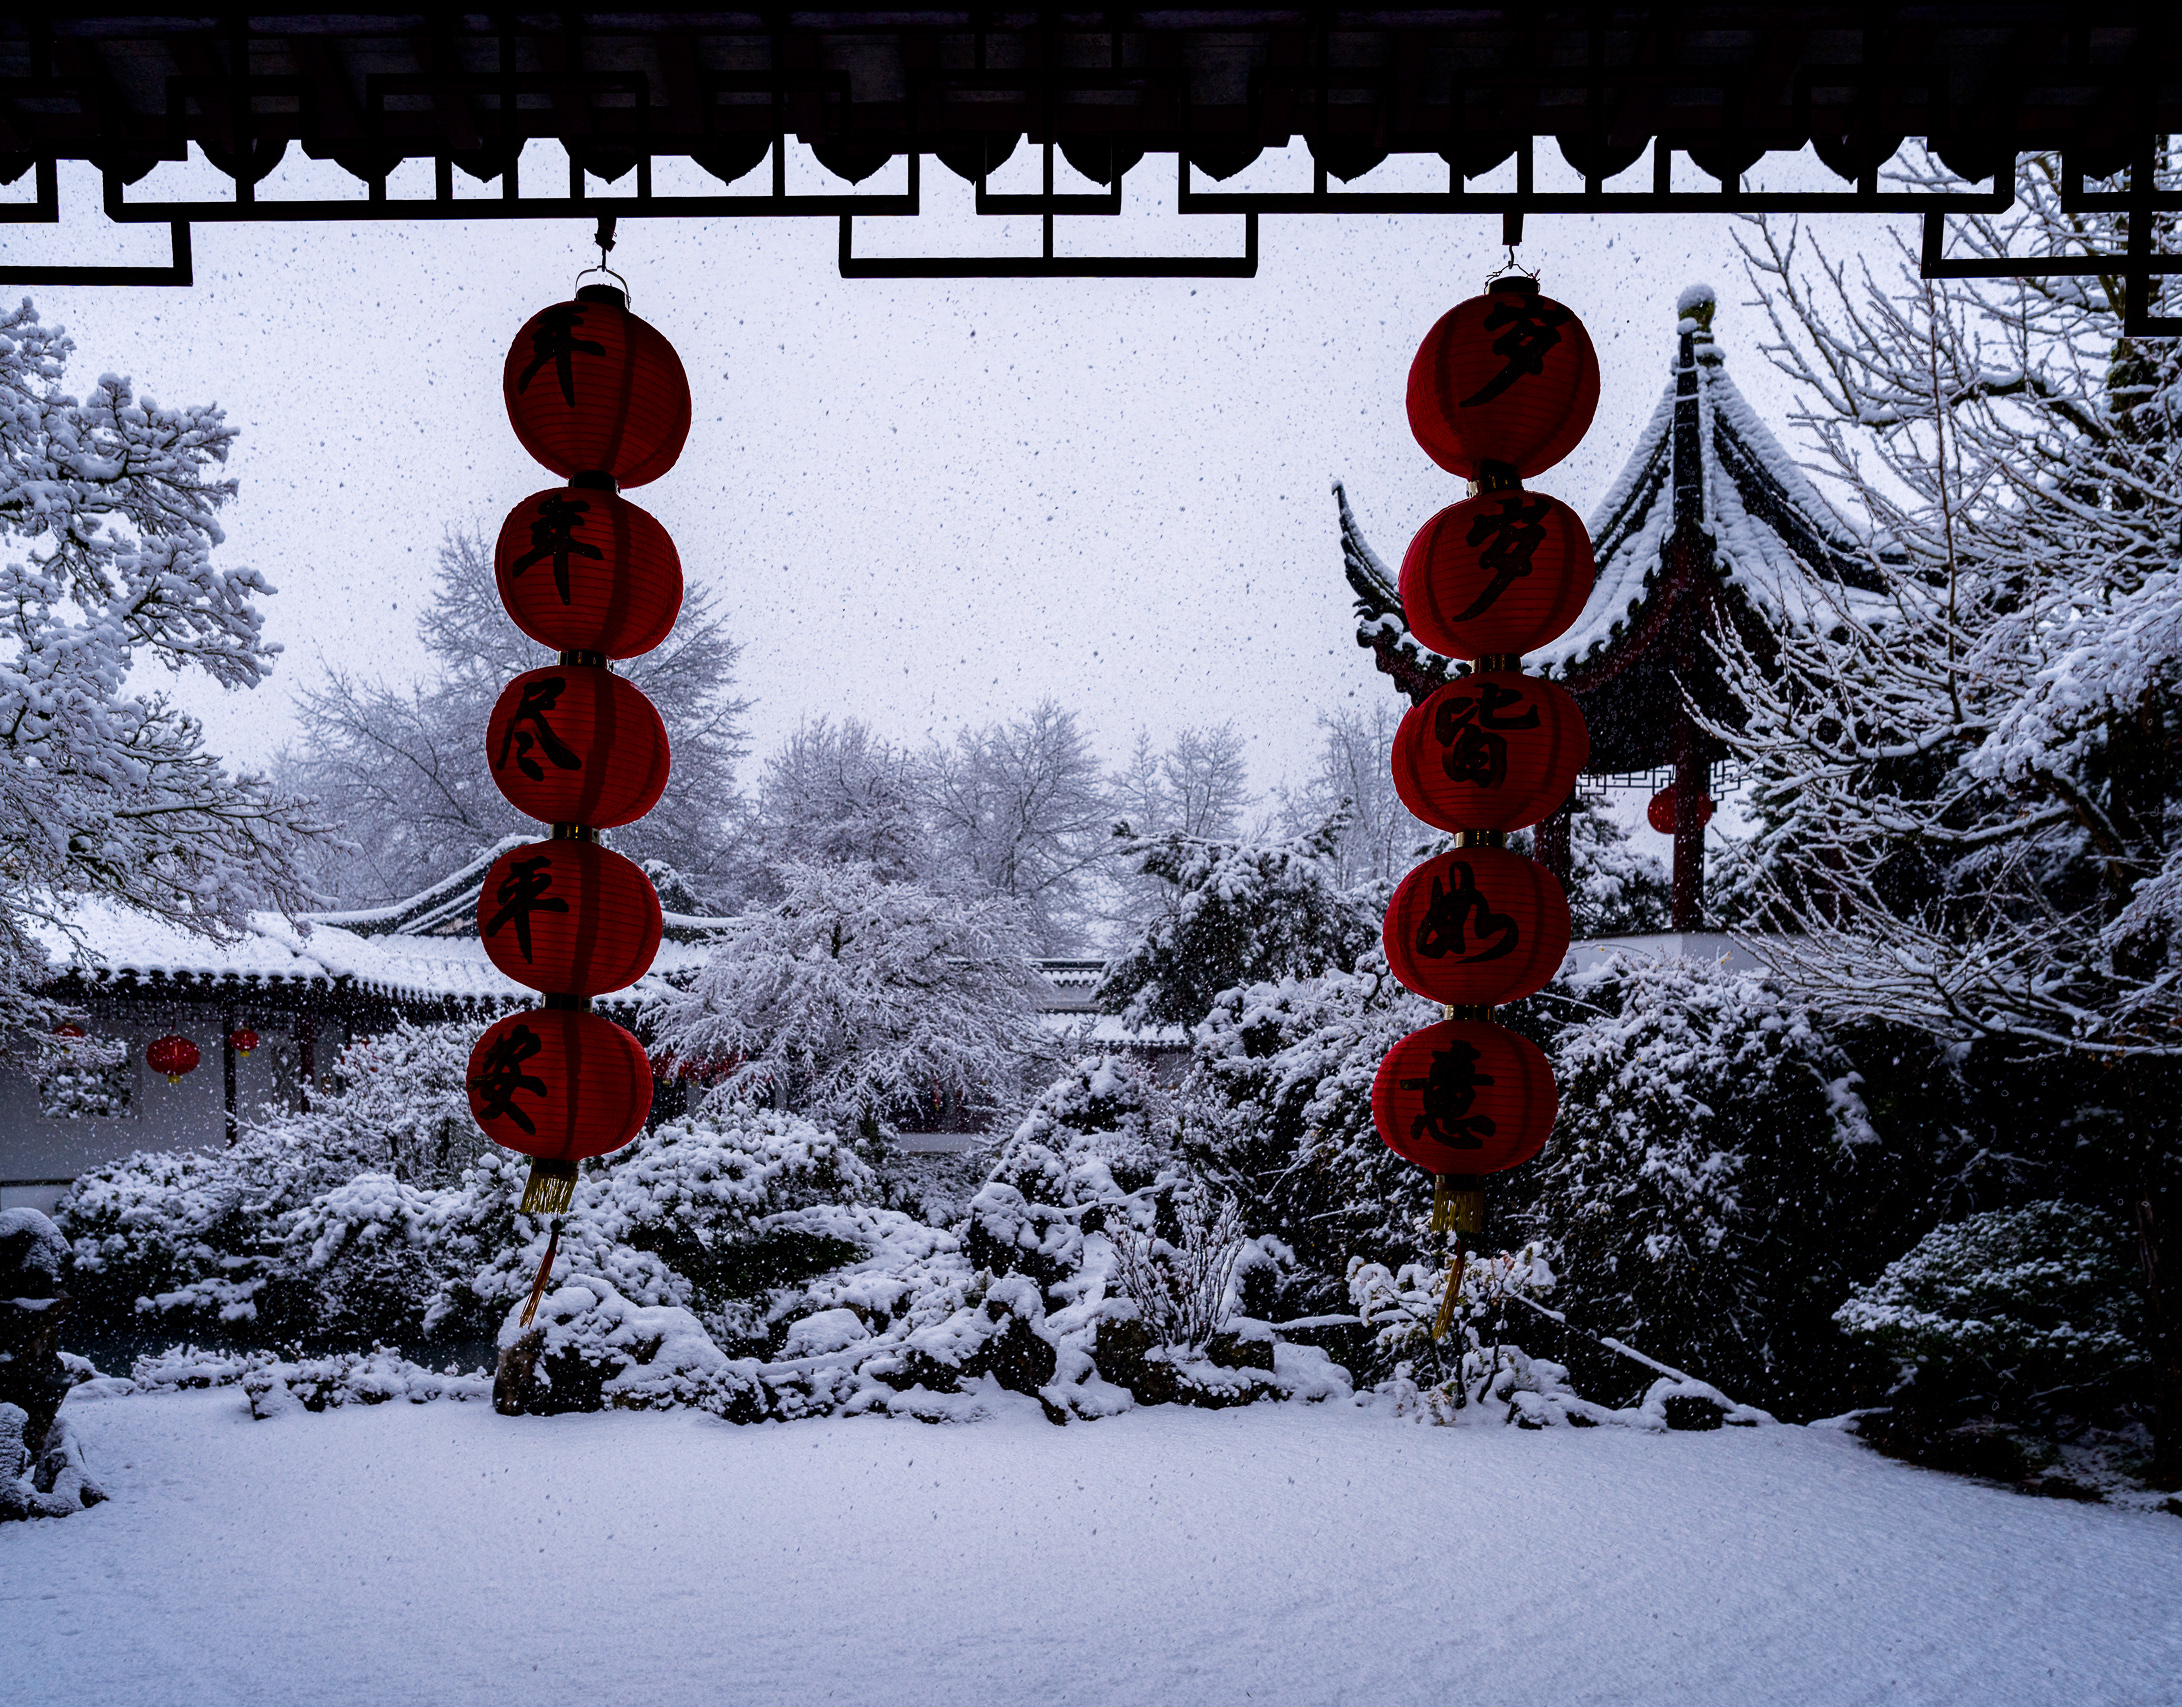
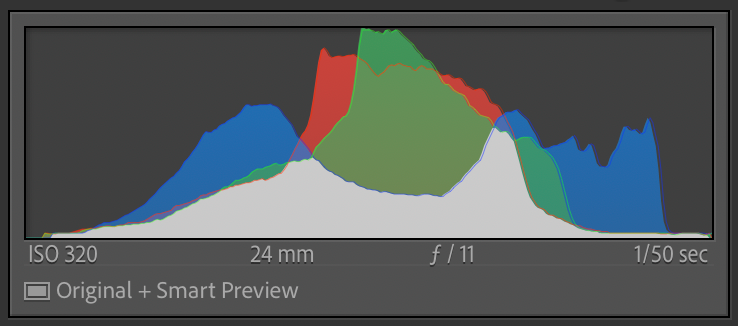
Image 1: The "Velvia" Trap
Caption: Captured September 2022 (Fujifilm X-T4/H2S). Processed with Camera Velvia.
Analysis: This is the 'Fuji Look' everyone loves. At first glance, it pops. But look closely at the aspen trees on the bank. The yellow leaves are merging into a singular orange blob. The shadows in the pine trees are crushed to pure black. The sensor captured the data, but the profile threw it away to create contrast.

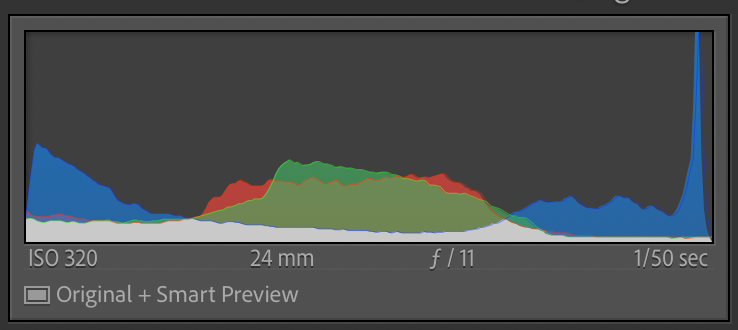
The Data: Notice the "U-Shape." The data is piled up against the left wall (Blacks) and the right wall (Whites). This indicates that the sensor data has been clipped by the simulation; detail has been discarded to create contrast.
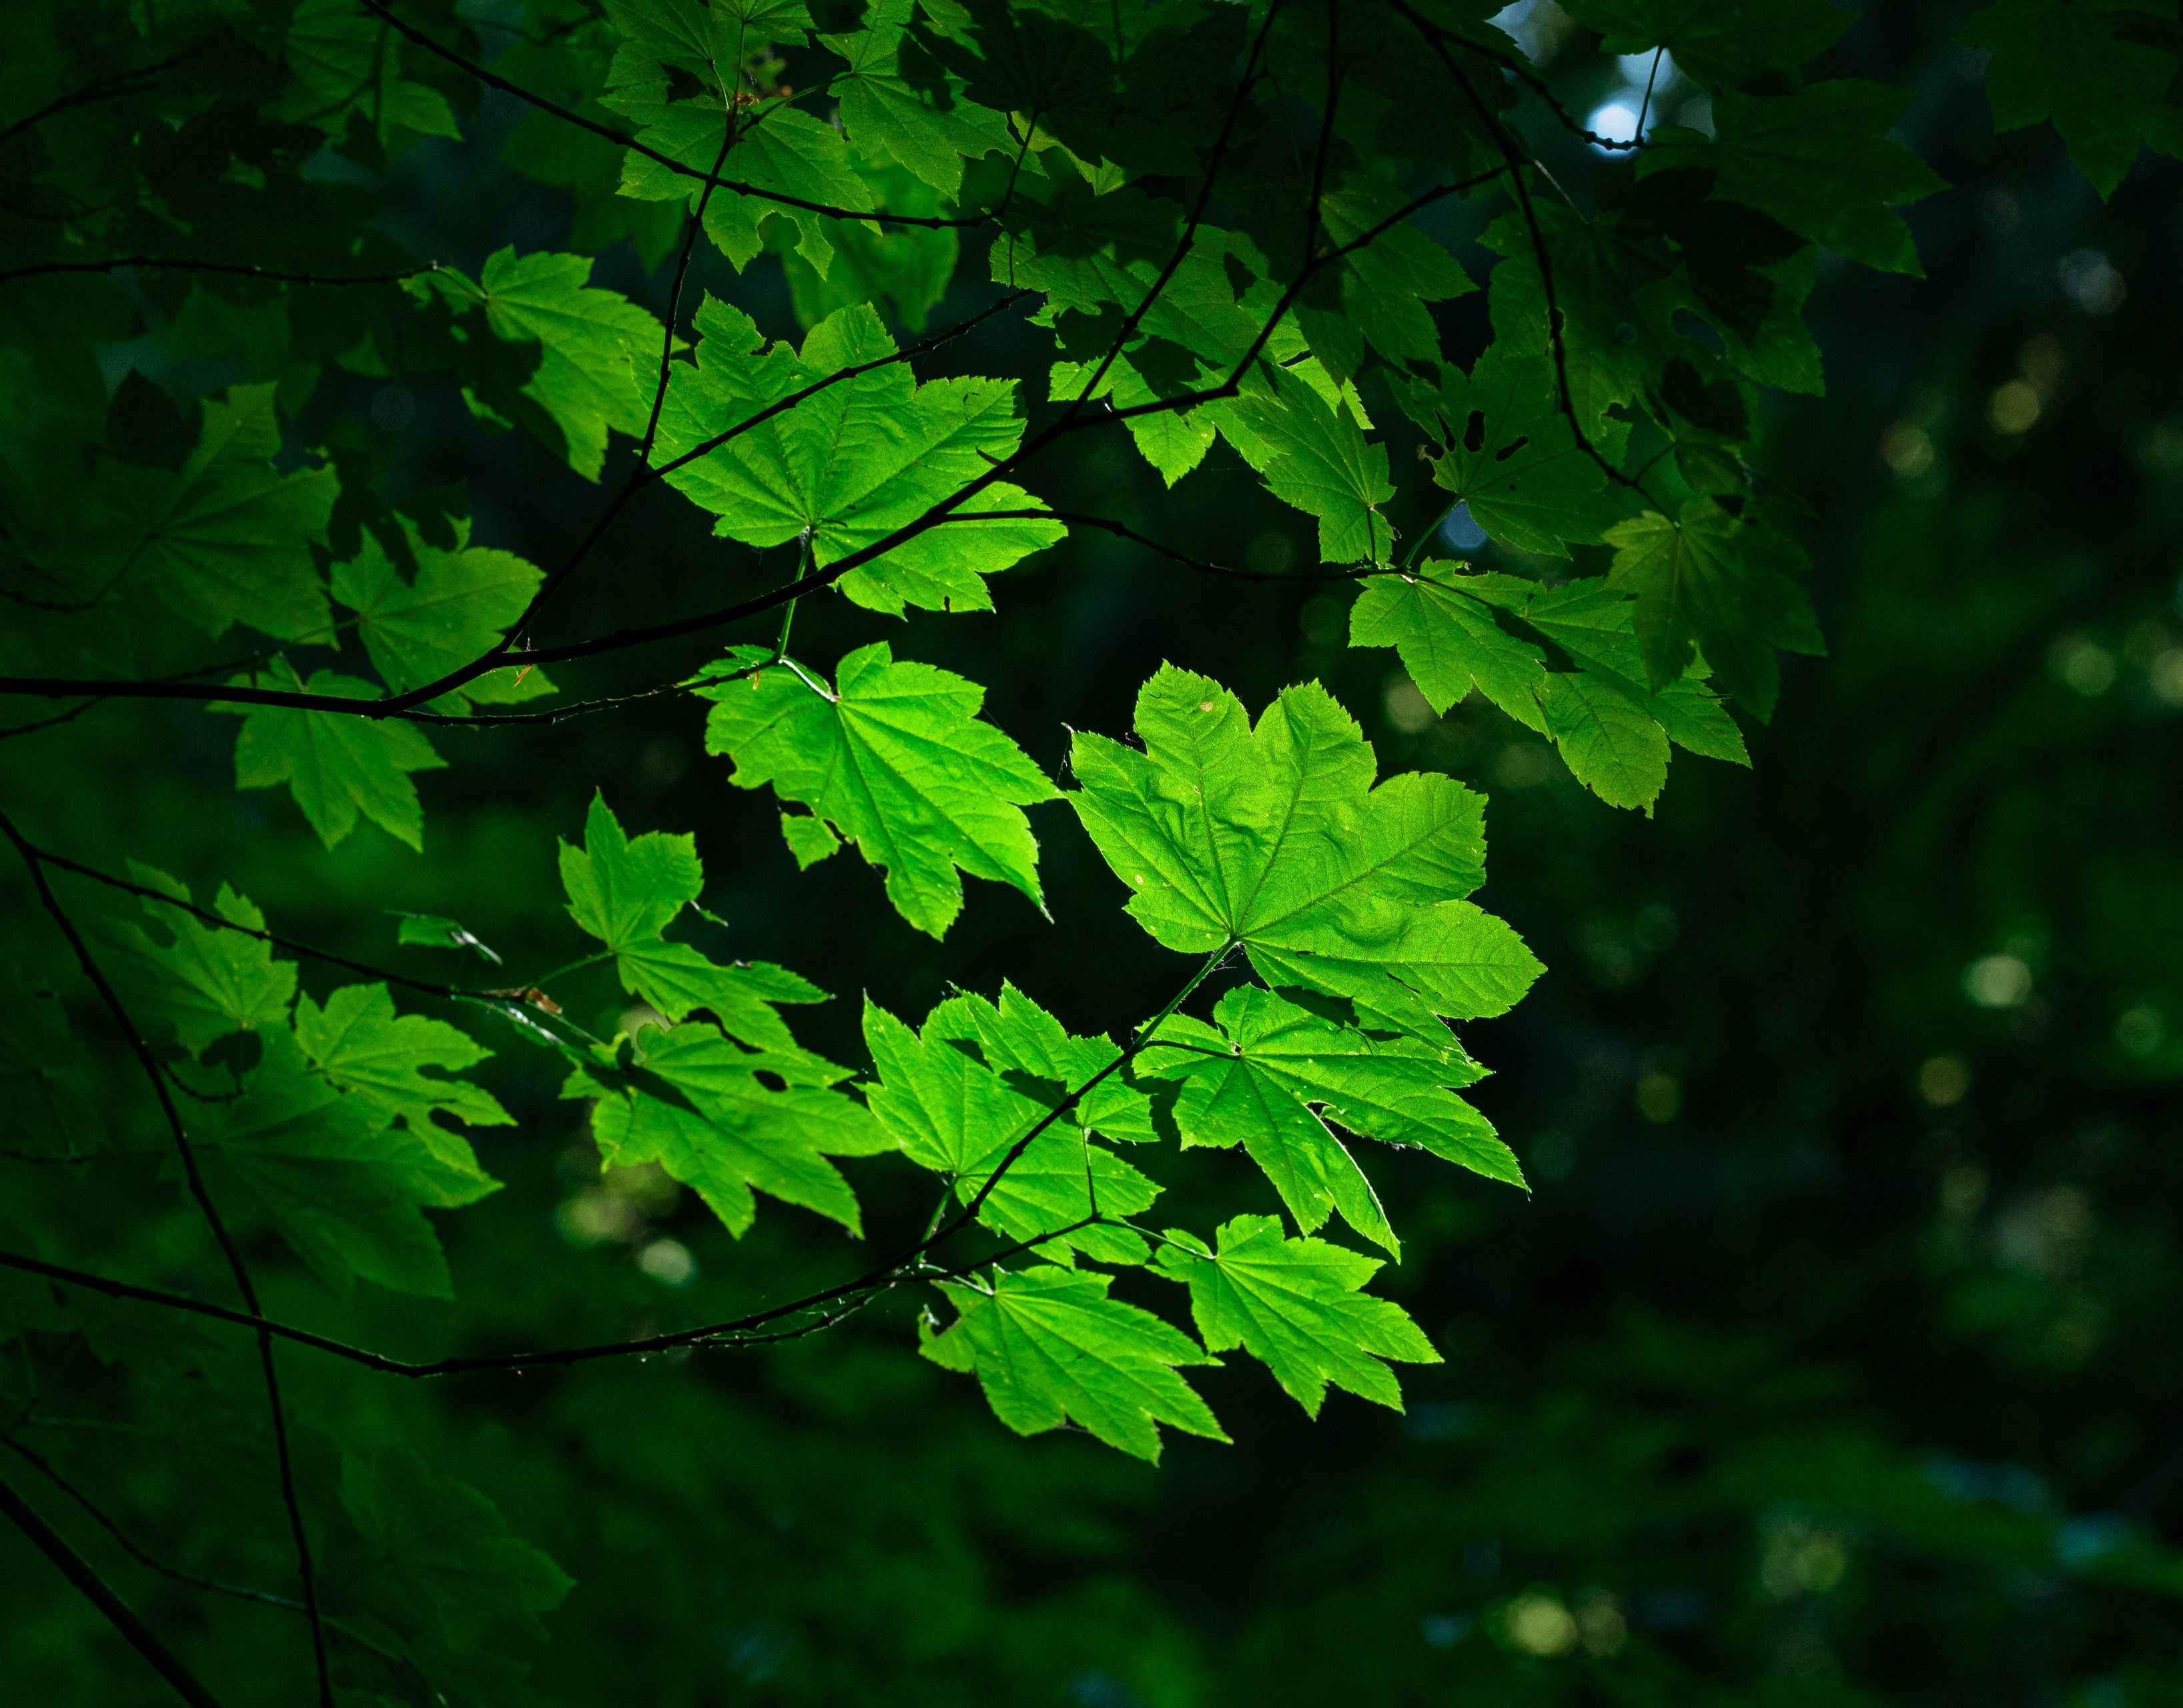
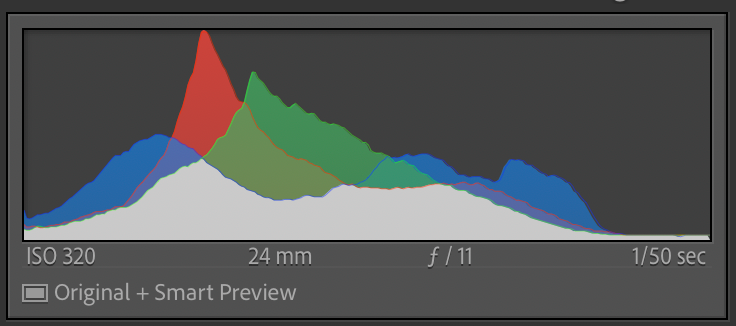
Image 2: The "Cobalt Neutral" Truth
Caption: The same RAW file, stripped back to Cobalt Neutral.
Analysis: This is what the sensor actually saw. It looks flat, grey, and boring. This is perfect. Notice how the histogram sits comfortably in the middle. I have texture in the brightest snow and the darkest bark. This is the 'Digital Negative' that allows me to transition from Fuji to Sony without changing my editing style.

The Data: Notice the "Bell Curve." The data sits safely in the middle. There is empty space on the far left and far right. This confirms that 100% of the highlight and shadow information is preserved and available for editing.
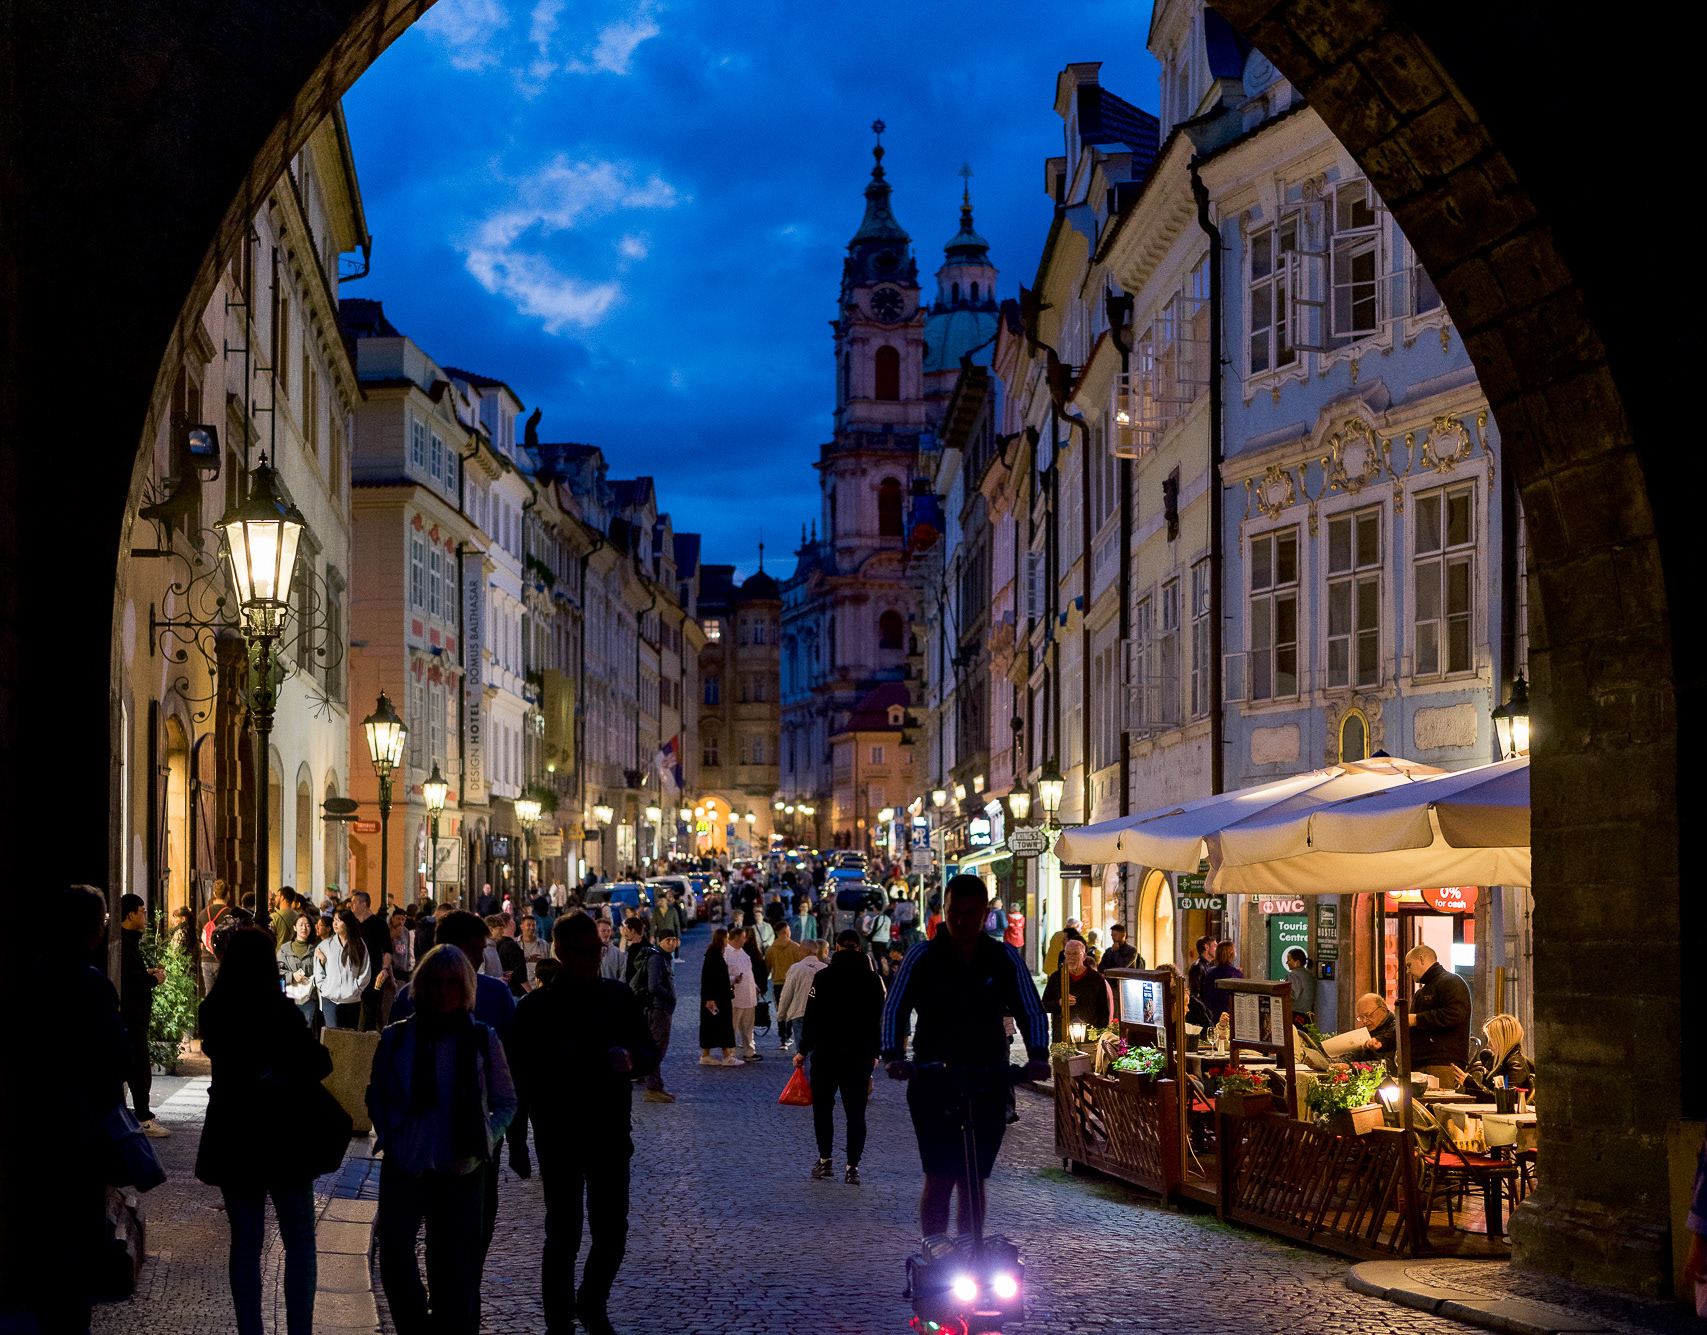
Image 3: The "Leica M9" Grade
Caption: The Final Masterpiece (Cobalt Neutral + Leica M9 Profile).
Analysis: Built on the linear foundation, I applied the Leica M9 emulation. Look at the water—it is a deep, polarized blue, distinct from the sky. Look at the trees—the yellow is separated from the green. This isn't just a filter; it's a reconstruction of color density that matches my fine art portfolio, regardless of which camera brand I held that day.

The Data: Notice the "Controlled Stretch." We have expanded the contrast to fill the graph, but unlike the Velvia histogram, the data tapers off gently before hitting the walls. This creates visual impact without sacrificing texture.
The Verdict: Why I Left the Simulation
The 'Fuji Look' is fun, but it is finite. As my work moved from social media to gallery walls, I realized that relying on a camera's baked-in profile was like painting with someone else's palette.
By switching to a Modular Workflow (Cobalt Neutral), I regained control of the shadows and highlights that the sensor actually captured. And by grading with Leica Emulations, I retained the soul of analog color without sacrificing the technical data. This workflow didn't just save my old Fuji files; it allowed me to carry my signature look over to my new Sony system. The camera changed; the color science remained mine.
The Technical Reality: "Baked" vs. "Built"
A common question I get is: "Isn't the Cobalt Leica emulation just another baked-in profile? Are you just swapping a Fuji simulation for a Leica simulation?"
The answer lies in the signal architecture. Here is the difference:
The Fuji Approach: Destructive Compression
When you select "Velvia" in Lightroom or in-camera, Fujifilm performs a complex compound adjustment. It doesn't just boost saturation; it actively "compresses" the color gamut. It might take five subtle shades of green in a forest and force them into two specific "Velvia Green" values to create that signature pop.
The Problem: This is "Colorimetric Crippling." Once those distinct shades are merged by the profile, you cannot separate them again. You have lost the chromatic nuance of the sensor before you even started editing.
The Cobalt Approach: The Modular Base
The Cobalt workflow separates the process. First, we apply the Cobalt Neutral Base. Unlike a Scene-Linear profile (which looks dark and raw), this profile respects the standard brightness curve we expect from a photograph (ACR Tone Curve), but—crucially—it retains Colorimetric Neutrality.
It avoids the aggressive mixing and compression found in standard profiles. It maps the sensor’s raw output to a standardized reference point without "crippling" the color data.
The Emulation Layer
We then apply the Leica Emulation on top of this preserved signal. Because the emulation LUT is operating on high-quality, uncompressed color data, we achieve the rich "Leica Color Density" (deep blues, thick reds) while maintaining the texture and transition quality of a modern sensor. This is also why Cobalt profiles look consistent whether you shoot Sony, Fuji, or Canon—they all start from the same reference point.
The Technical Verdict
Fuji Velvia forces you to accept a loss of dynamic range in exchange for immediate impact. The Cobalt workflow allows you to preserve the color integrity of a modern sensor while painting with the aesthetic soul of a classic CCD sensor.
Coming Next in The X-Trans Audit: Part 2 - The Evolution of the X100. We put the X100S, X100F, and X100V side-by-side to see if Cobalt can finally unify the generations.
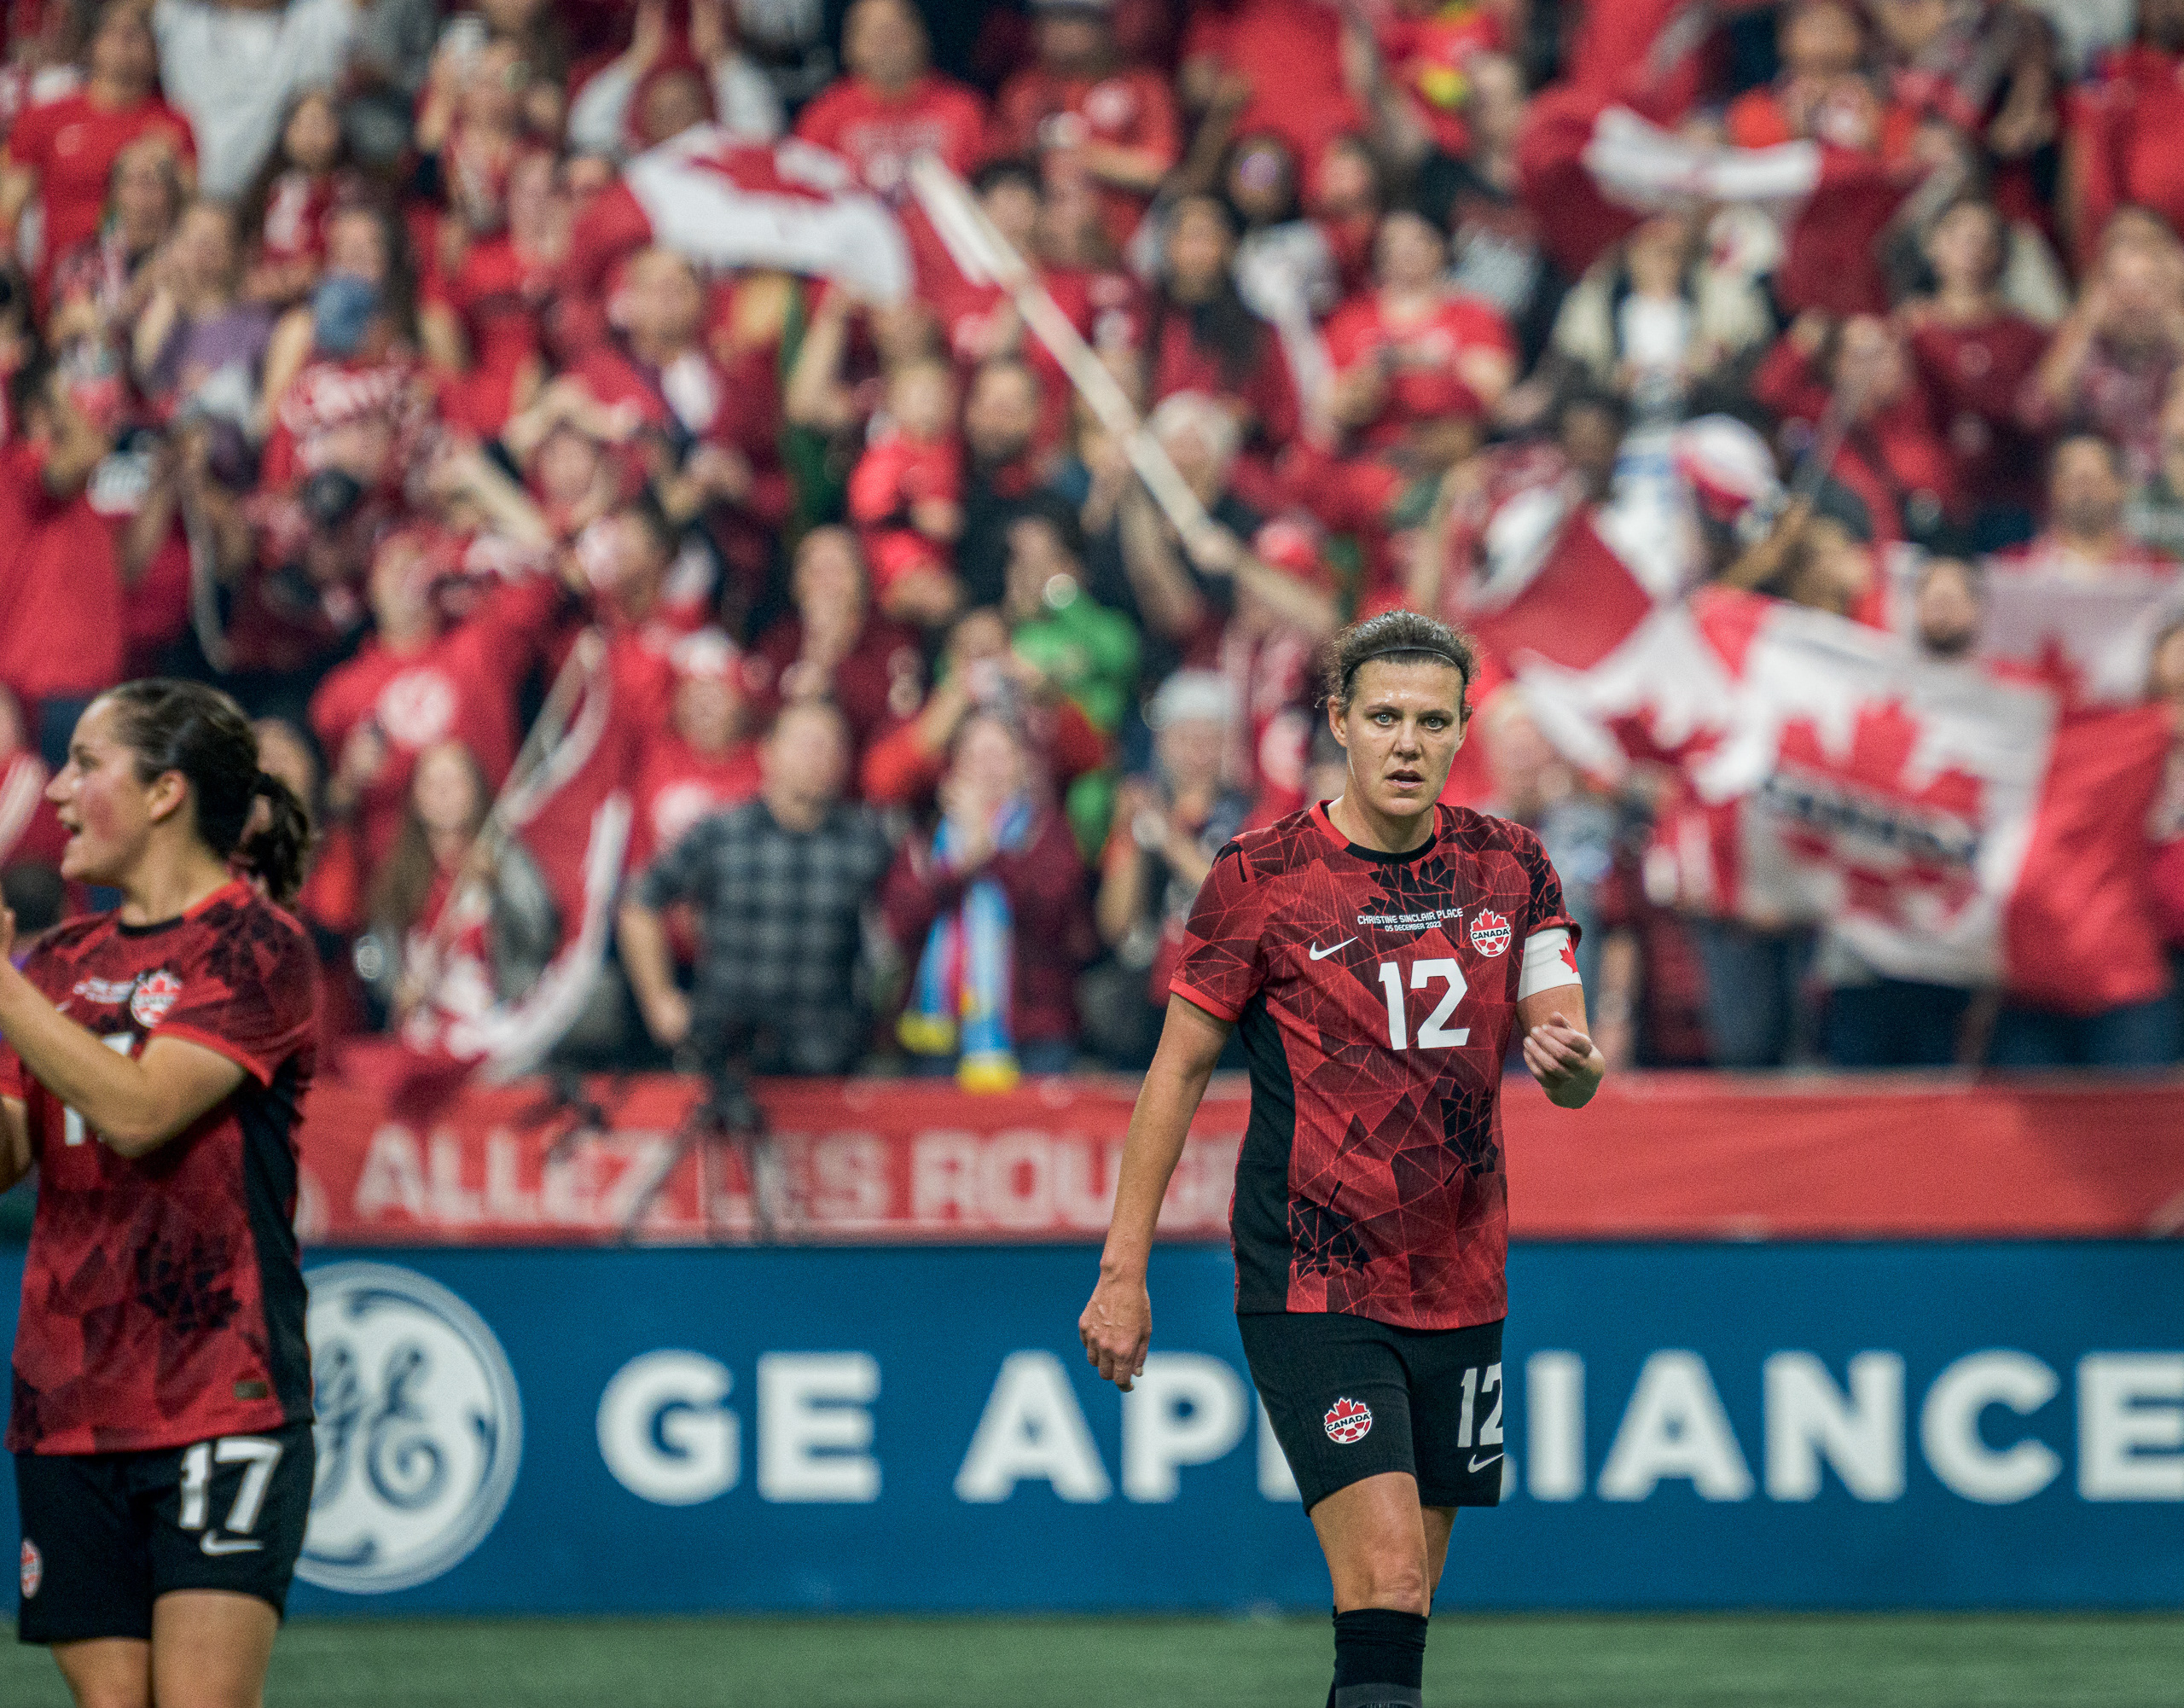
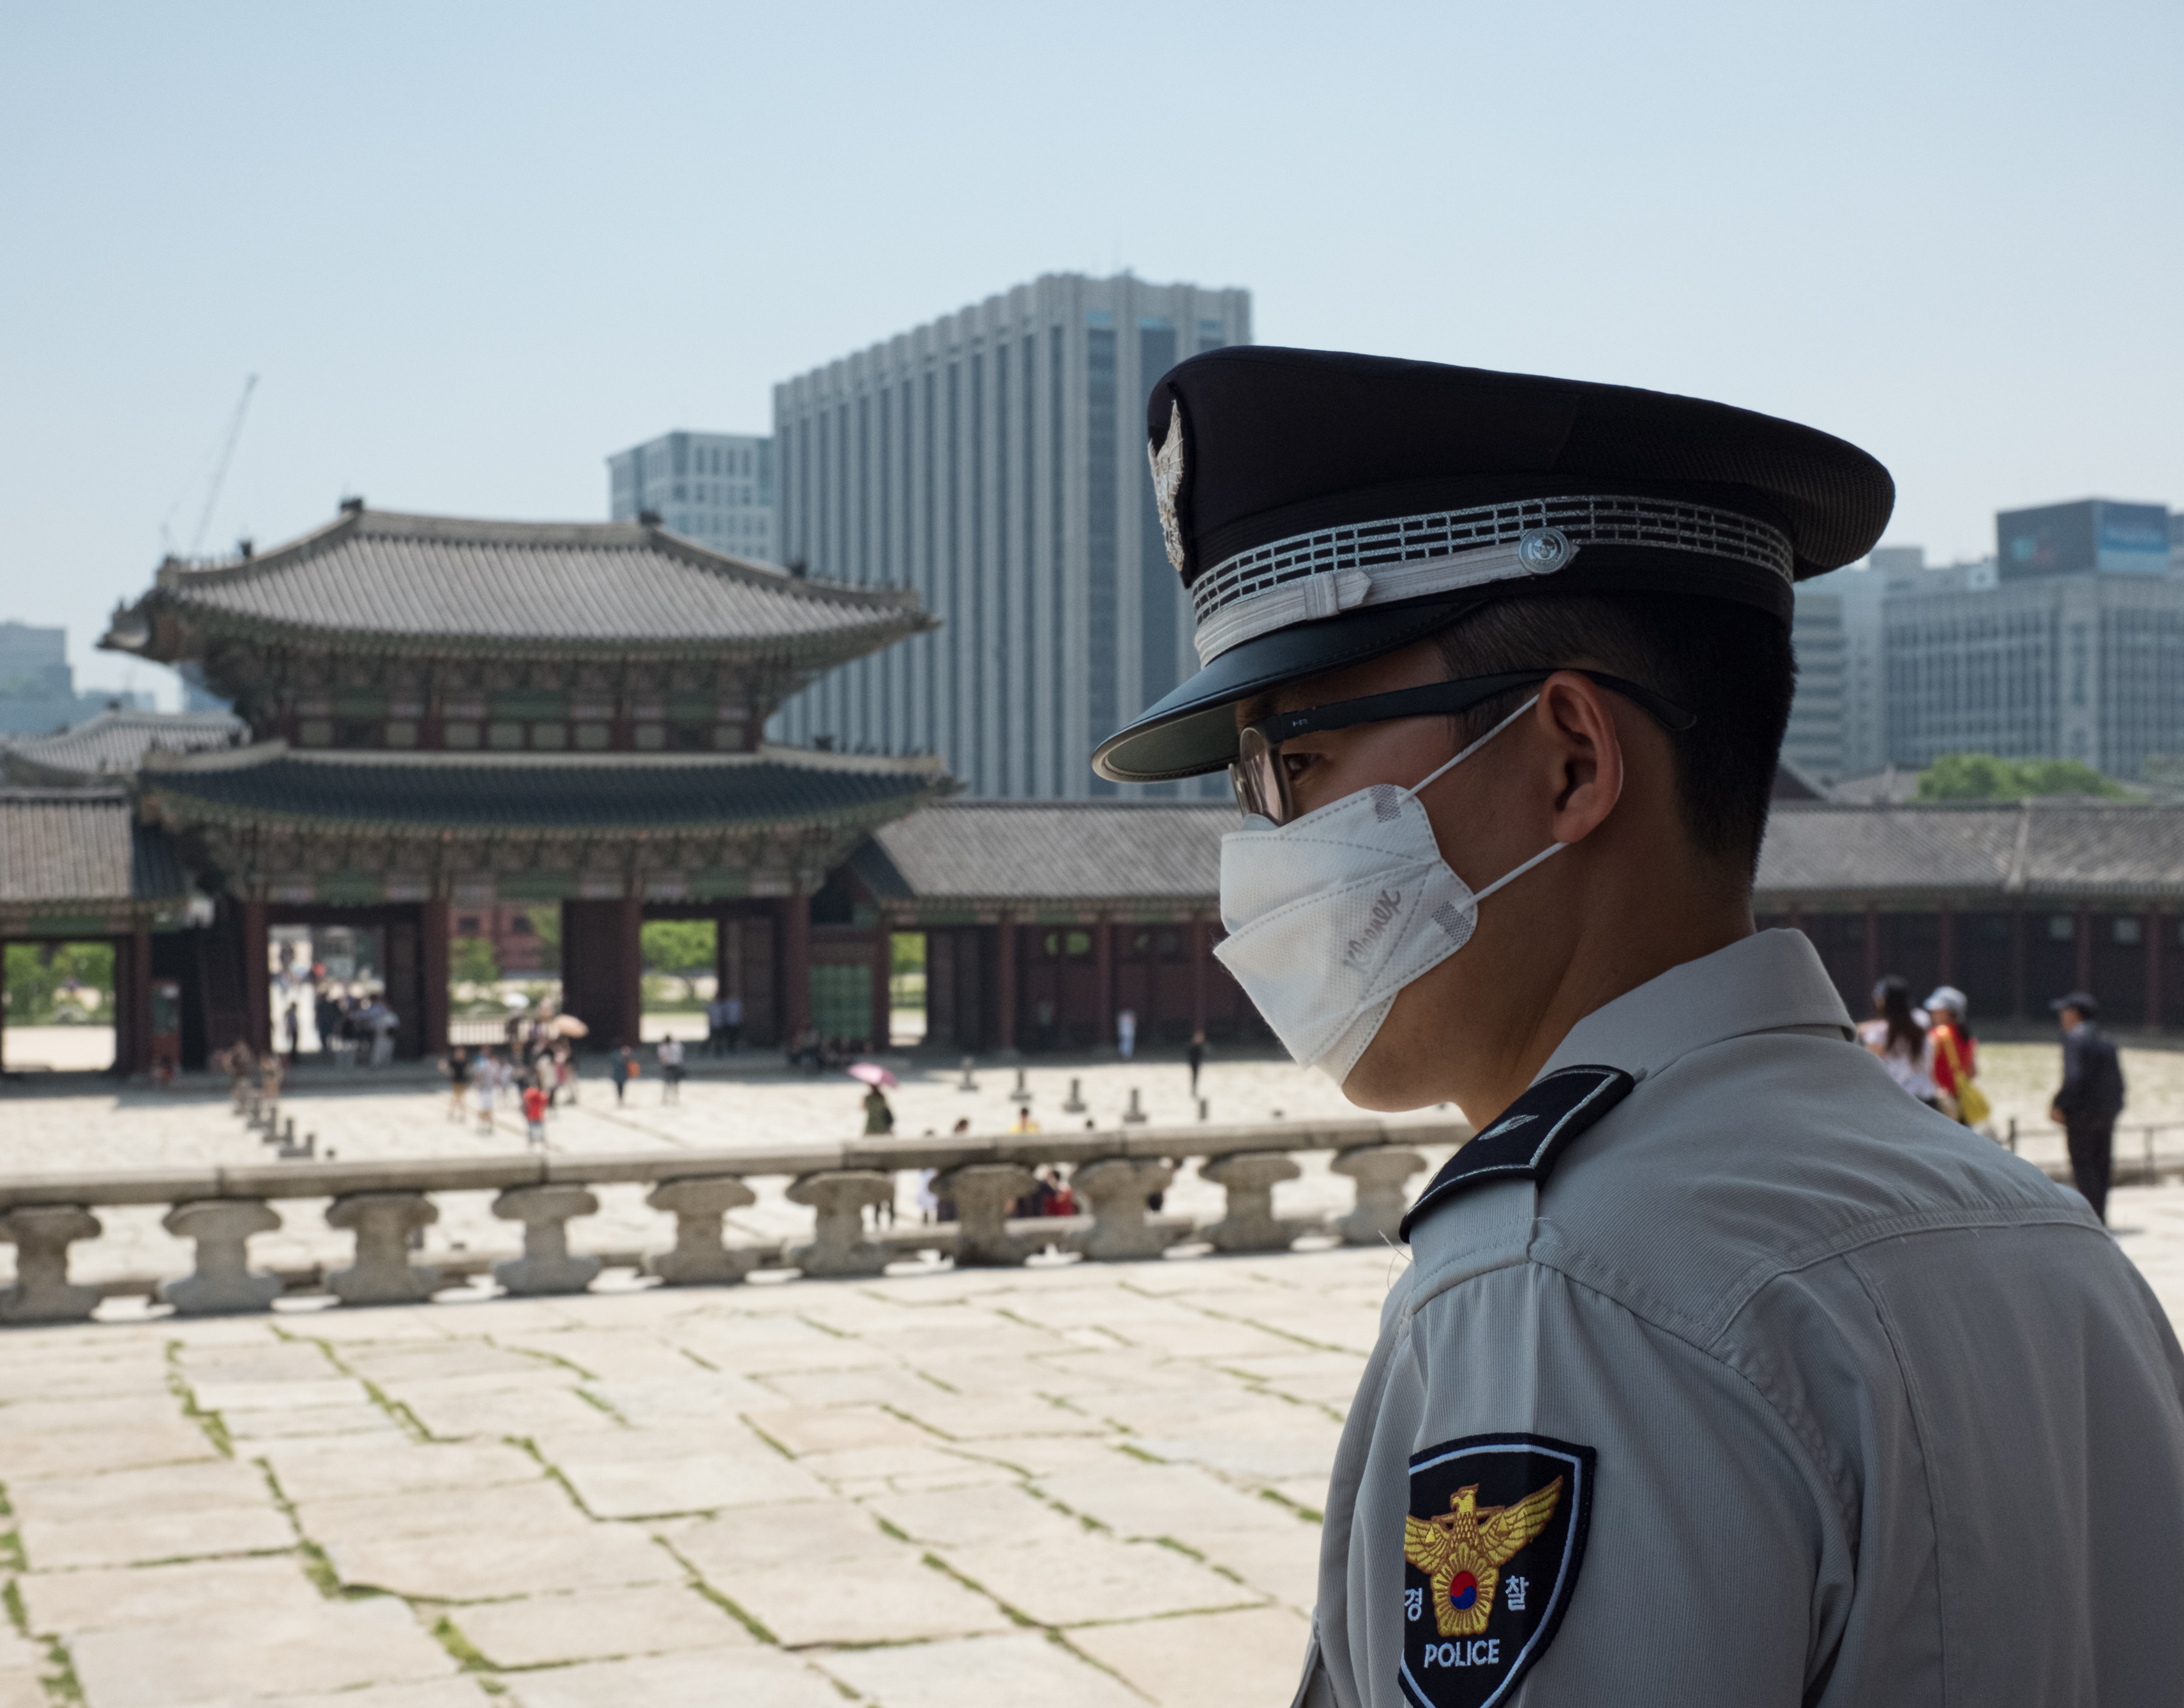
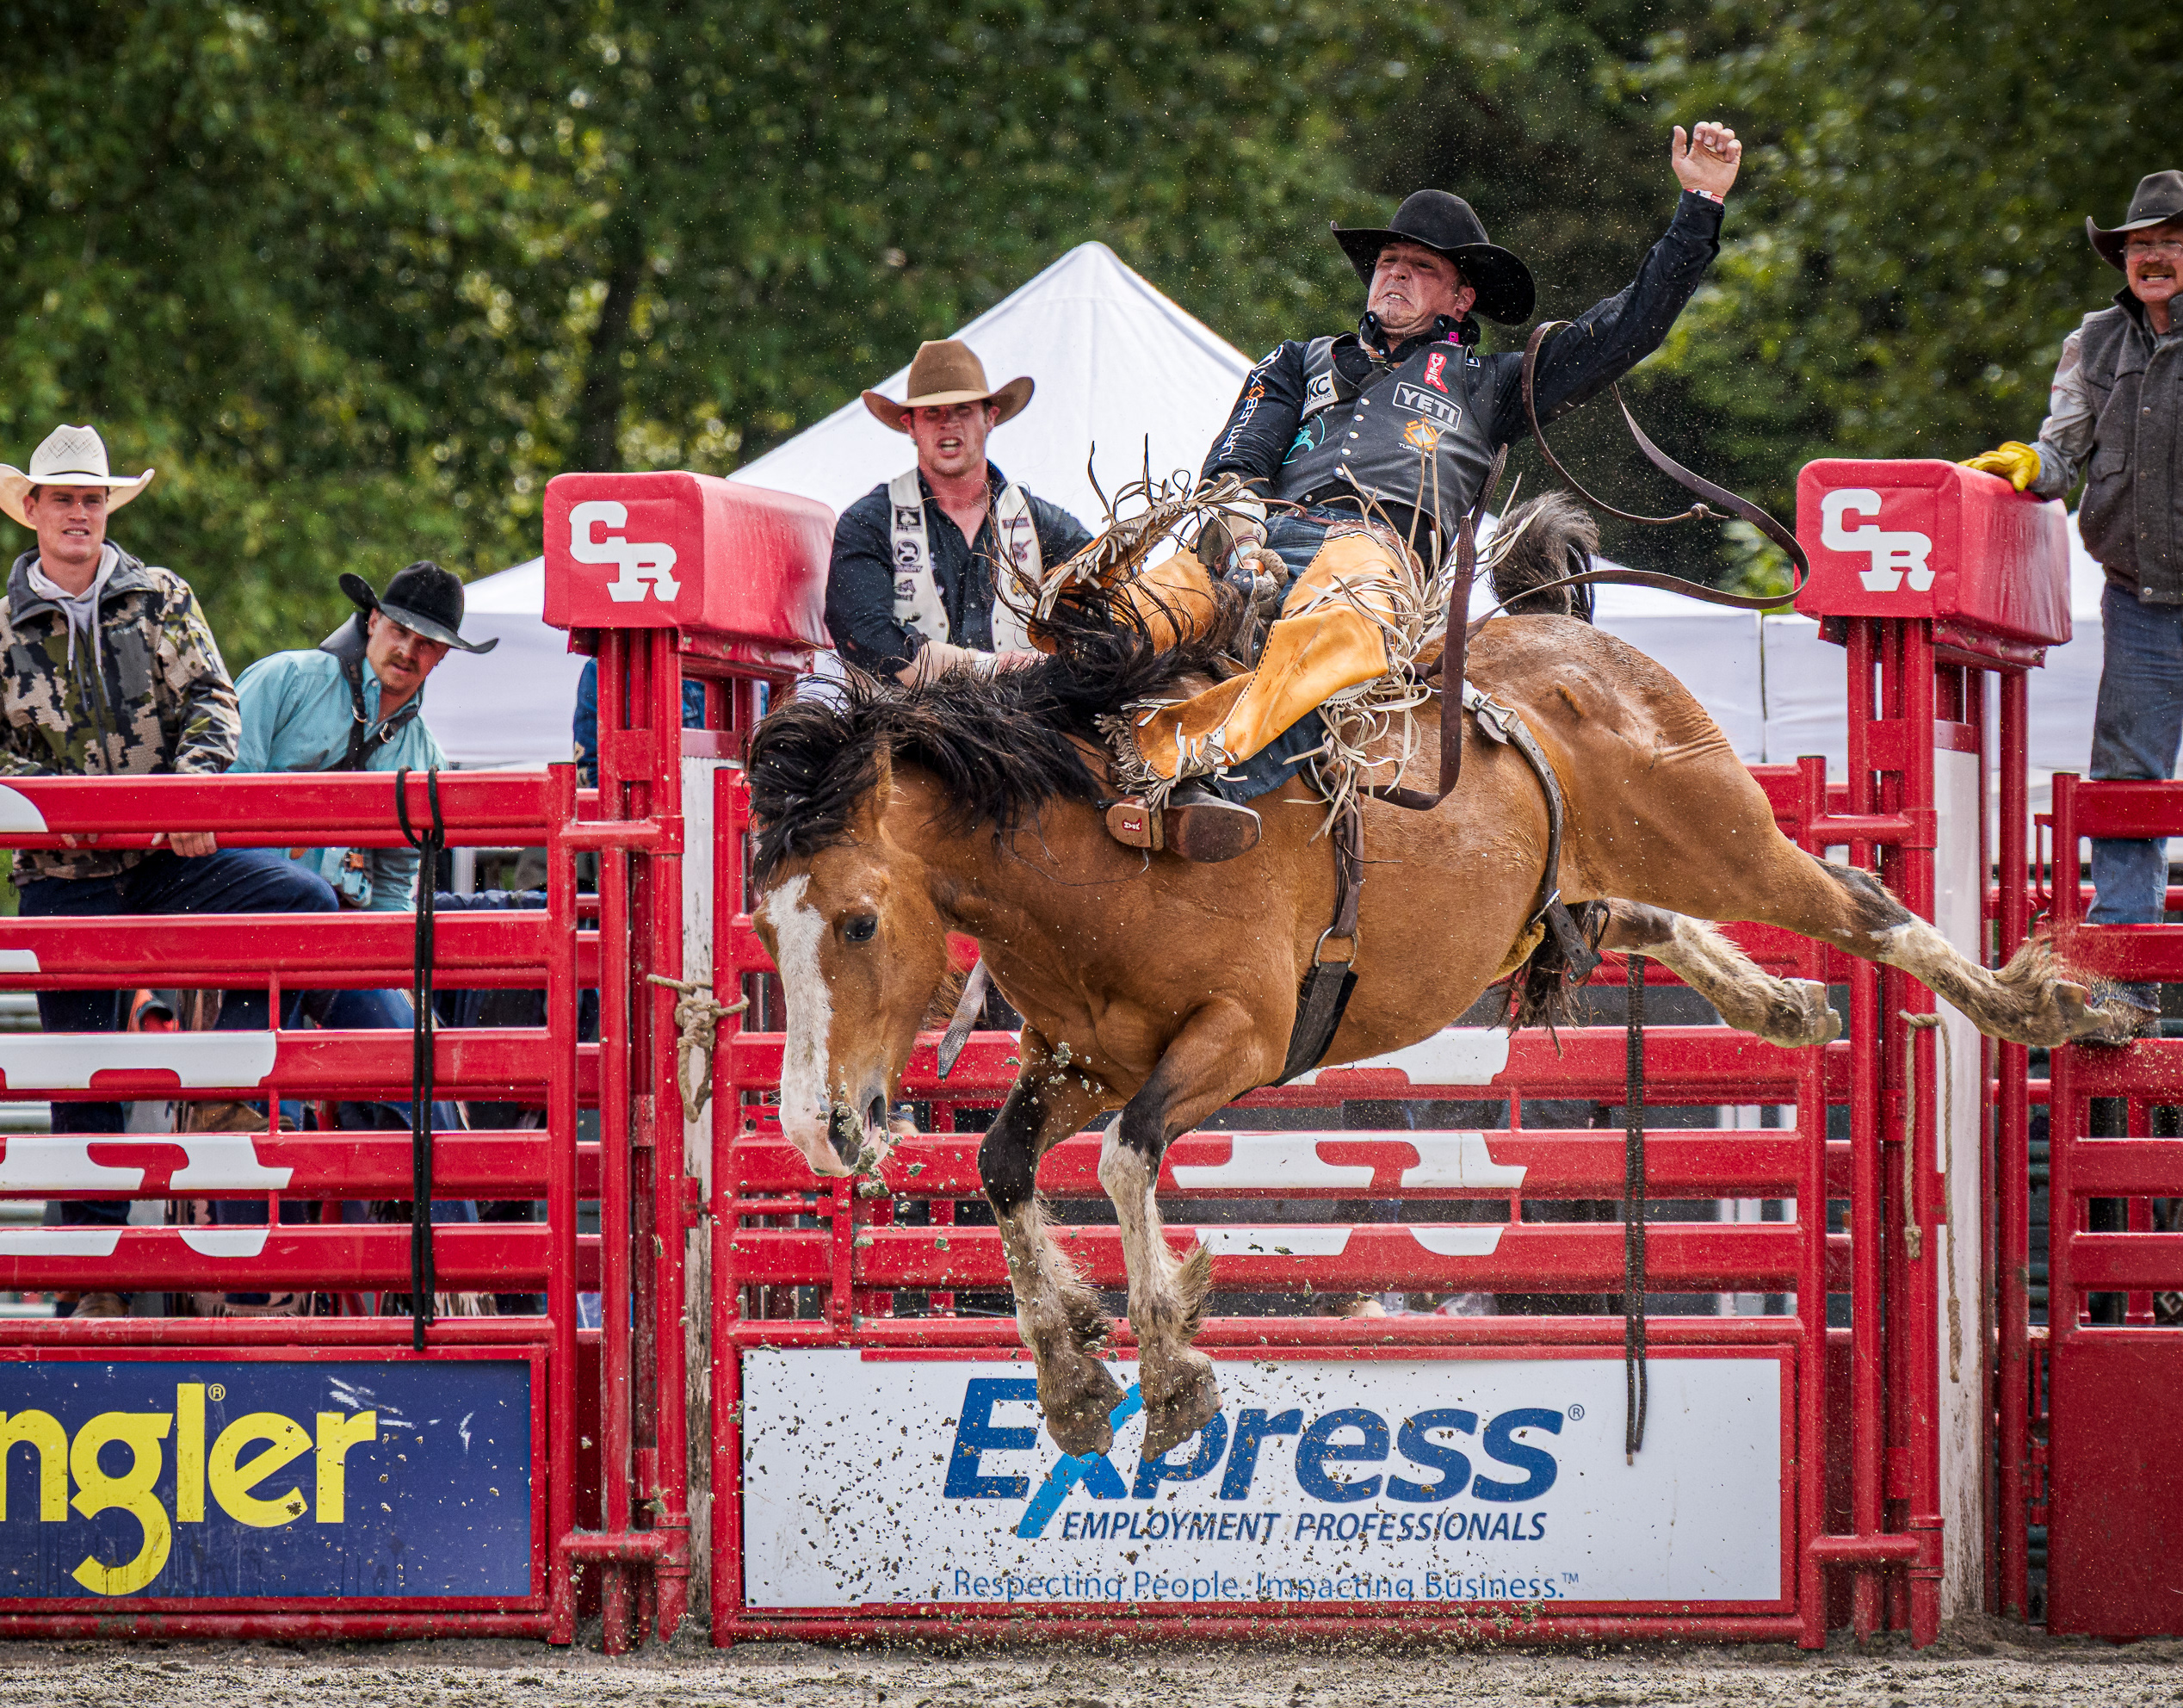
Joe Ng Photography | Vancouver, BC
Merging the adrenaline of high-performance sports with the timeless beauty of global travel. A former Fujifilm X-Photographer applying a rigorous technical mindset to the Sony Alpha system.
Merging the adrenaline of high-performance sports with the timeless beauty of global travel. A former Fujifilm X-Photographer applying a rigorous technical mindset to the Sony Alpha system.